well, I was gonna post about something totally different, but I think today I'll just chat about updates on what's been happening under my lights! :) there will be plenty of time in the winter for random gardening topics and experiments.
Well, I decided this week, to be done with my Ukranian Rhubarb seeds. Any that haven't sprouted, appear to have either molded or rotted. Very strange since the soil didnt get any mildew on it at all. Perhaps soaking them was a mistake. Or maybe they were just old seeds. Still, I got 1 or 2 sprouts from them, so if those grow into big rhubarb plants, it was still worth my money and time!

Just incase it was the soil though, I decided to try a trick I read about. It's called soil sterilization. Because there was mold on some of the seeds, I don't want to re-use the dirt. It may have some mold spores within it. Have you ever tried removing mold from the surface of dirt, and it grows right back? Mold has spores not roots, if specks or dust settle back on the dirt, it'll just re-grow itself. There's two things you can do. One is to sterilize the dirt (like I am demonstrating today), the other, is to spray the surface of your plants and dirt with a 1/3:1 ratio of peroxide and water. The peroxide consumes the mold, and also airates the soil while it's in there! I used this trick lots last year after my seedlings were planted, but the soil got mold. It really works, and it doesn't hurt the plants.
Still, it's nicer to have dirt that doesn't mold in the firstp place. So the other trick, if the dirt doesn't have a viable seedling in it, is to sterilize the dirt in the oven! :)
Just pop the dirt onto a pan, smooth into a 1-3 cm thick layer on the pan, and bake it anywhere from 2-300 for 1-3 hours. Whatever you feel like. this was 200 for about 3 hours. The dirt was still damp which is a good thing because the steam is very hot and helps kill spores. It didn't stink really either. Just a nice earthy smell. Perhaps if you have fresh compost in your soil it might give the air a smell of that, but this was store bought compost, peat moss and vermiculite. So no funky smells here!
LETS MOVE ON!
Lets move on to whats happening under my plant lights! :)
 |
| 3 vibrant Mb Rhubarb seeds ready for a transplant in the next day or so. |
I transplanted a few manitoba rhubarb seedlings last week, and a few more have shot up. I'm noticing a pattern of only the outer cells sprouting. I'm thinking my warmer light is too hot on the center cells, and thats why they don't sprout. So i'll lift the light a little higher up next time.
 |
| closest to us is jalapino peppers, far away is green pepper seeds from the seed swap. These are also due for a transplant. |
My peppers have shown the same affect with the light suprisingly! I've not given up on these though. peppers are native to mexico so I feel like the seeds should tolerate quite a lot of heat one would think. Still, i've transplanted a few, and here come a few more! These are pretty early. I'll have another round of pepper seeds to sew in the coming weeks yet, and i'll do the light higher up for them.
LUPINES!?!?!!?
 |
| My stratified lupine seeds had a very high germination rate of 17 out of 18 seeds |
Here we have the long-awaited LUPINE SEEDS!! YUP! 17/18 have sprouted up beautifully! So the scarification and stratification worked beautifully for these! They all look healthy, and some are even working on their first set of true leaves! :)
 |
| Some lupines are already getting their first set of true leaves. |
You might notice the purple color of the lights on the lupines. These are the plant lights I bought. I was a little nervous when I first screwed them in place, but my research seems to show that most plant lights have a red or purple hue to them... so I'll keep my fingers crossed, and if nothing else, get things outside in the mini greenhouse (one of those metal and clear plastic build-it-yourself structures from home depot for $70) as soon as possible.
NEXT IS MY SNAPDRAGONS!
I'm not terribly impressed with these... but again, they were under a hotter light. So as you can see, only the seeds on the cool edge sprouted. (starting to prove my "too hot" theory a bit). I'd like to wait and see if more sprout, but these are already reaching for light, and tangling up. So it's time to transplant them and separate them out a bit.
I'll warn you, I'll be losing quite a few seedlings in this method. But this is what happens when you dont take the time to space your seeds out properly. Even the tiniest seeds need a bit of meticulous care, or this happens. Lucky for me, I seed-saved these snapdragons, so there's no $ lost in me losing some seedlings. And I simply started a few more this same day.
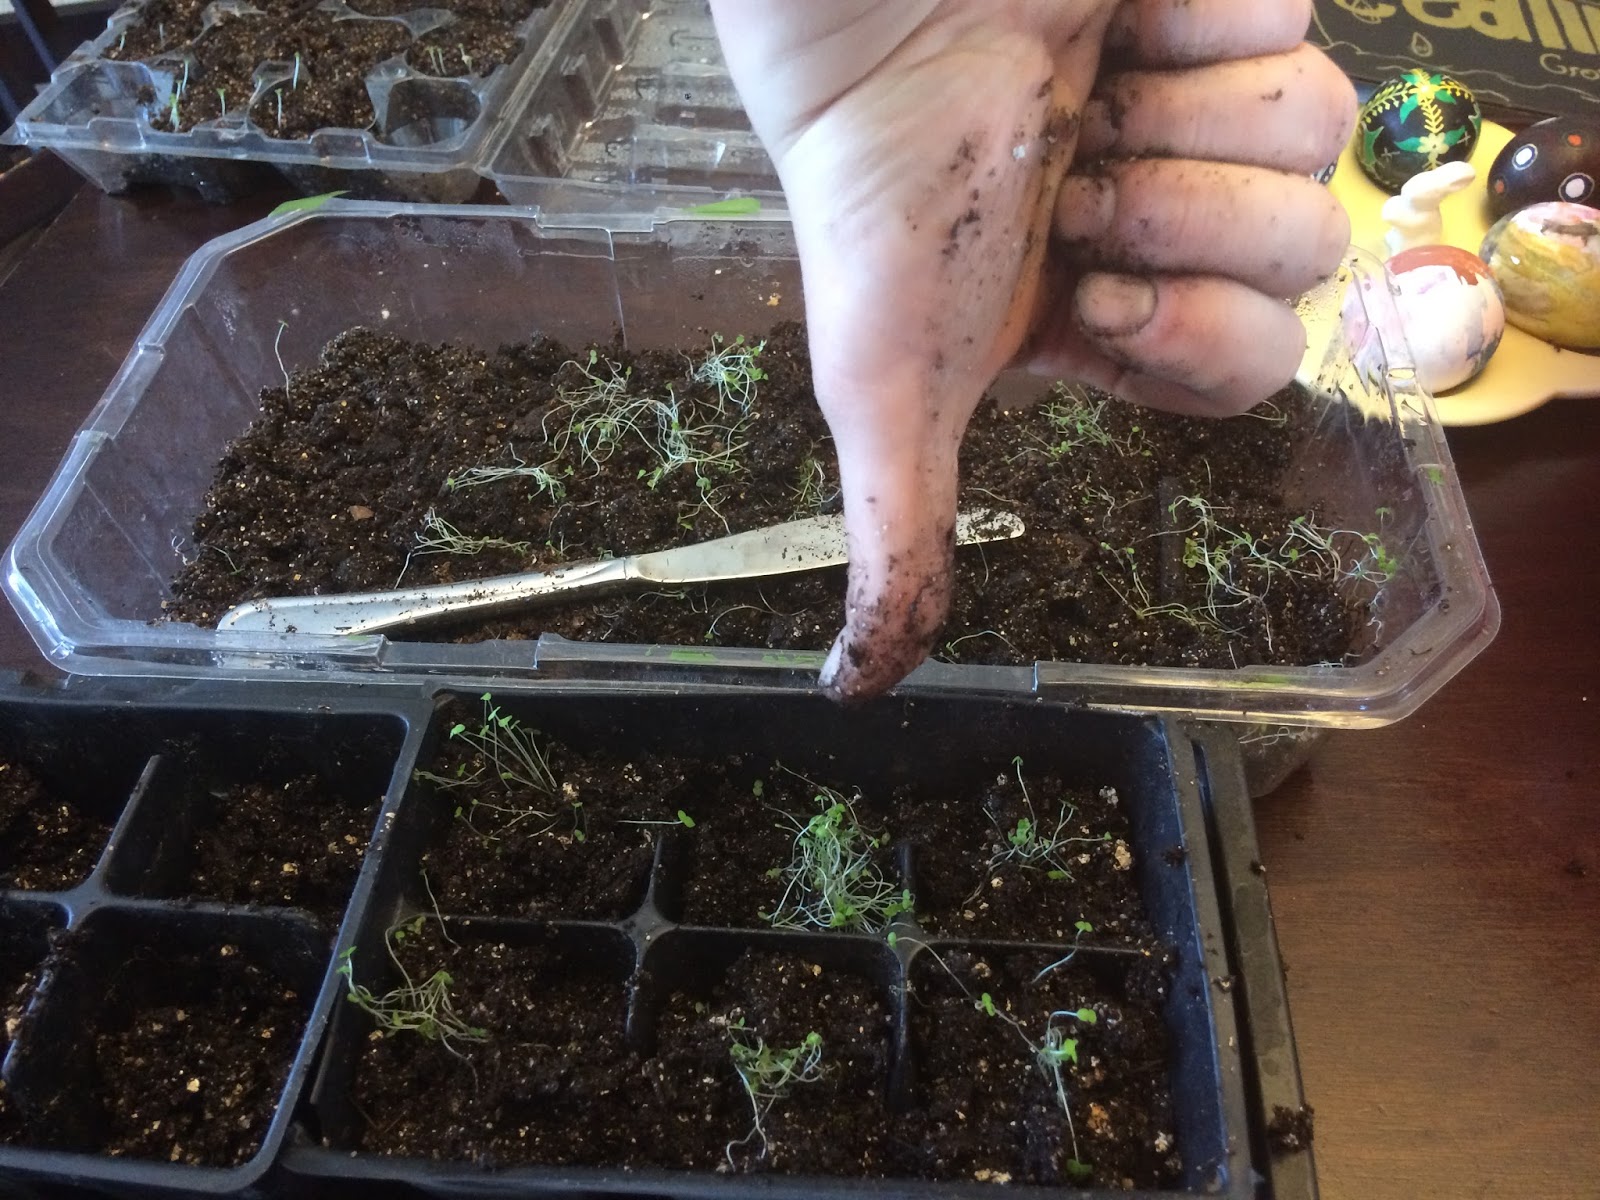
So because of the tangle, I used a butter knife to wedge out a chunk of dirt for these transplants.
And then whatever actually stuck together (aka had some roots) went into a seedling pot cell together. If they grow stronger and more vigerous, i'll either thin or separate them out farther yet. But for now, i'm not terribly invested in these spidery looking seedlings.
Here's what they looked like after transplanting. Quite spidery and not terribly pretty. I imagine one or two of the hardiest snapdragons in each cell will spring to life and rise above the rest, producing beautiful blooms, and the rest will die off. Which, again, is totally fine with me here! :)
But all-in-all, this particular seeding event I would give a thumbs-down.
HOLLYHOCK STRATIFIED SEEDS!
So, they aren't nearly sprouting yet, but the calendar says to plant them... so i will! We'll see what happens! I'm a little more anxious about these ones, less so because each packet costed me $3, but moreso because I LOVE HOLLYHOCKS and if these flop... it's not something readily available at most greenhouses. I really want some. and they do re-seed themselves once established year-after-year... so i'm really hoping it'll work out!
The above is already half-way through sewing, but as you can see, there's a bit more color variation in the seeds after stratification, and a little pale arched line around the perimeter of some of them... so I assume these seeds have broken dormancy already when I start this.
It was difficult to photograph, but I did 2 seeds per egg-cell. My confidence in their germination is low, since none of the direct-sew seeds I did last summer sprouted... :( Yup! This is already year two of me trying to own hollyhocks... REEEAAAALLLY hope this works!
So I just used a permanent marker (or any pen works) to poke 2 holes in each cell, far away from each other for ease of separating plants later. Plop the seeds in, maybe 1-2 cm deep, and smooth dirt back over them.
I had a few seeds leftover, after doing 2 seeds per cell for 18 cells... plenty... so I decided to toss them in a milk jug for outside in my milk jug garden, and see what happens. It might just kill them at this point since they've broken dormancy, but hey! so about 30-40 seeds are in there. Well over-planted, but i'll keep an eye on it. Their roots tend to grow down, not out. so I'm still hoping for the best. I gave them a good 4-5 inches of depth in the jug, cutting my rim just below the handle itself.
LASTLY, DELPHINIUM SEEDS!
Well, this was my take-over of our dining room table actually lol! You'll see my seedling recording binder, as well as my seed binder. I use hockey-card collector sheets, to store all my seed packets, and then I can flip through them and categorize and observe it all. I should point out I also planted a few more snapdragon seeds in an egg carton this time, more sparingly. So experiment #2 for snapdragons is started. :)
The Delphinium/Larkspur seeds are definitely alive. The color is lighter, and their shells are slightly swollen. So I'm hopeful on these ones. Plus I seem to have better luck germinating tiny seeds in my lifetime for some reason... But...
Okay, so Delphiniums are officially my LEAST FAVORITE SEED to plant! Oh my word!!! they are tiny, and they aren't pitch black, but not light... they are precisely the color and size of dirt...
like... can you see my seeds in this photo? cause there's at least 8 in plain sight on top of the soil... and they are relatively in focus... oh ya! Thats how fun it was! (note the sarcasm). And because I paid $3 for a tiny amount of them, I was diligent to space them out about 3 cm or so, so I can save as many that sprout as possible.
I used a couple containers for these ones. I did my multicolored Delphiniums in this leftover strawberry clamshell, which already has all the holes I need! And I did the light blue ones, in the egg clamshells...that was easier, cause I just spaced out 5 seeds per egg shell, and I could keep track of which compartments had seeds and which didn't simply from memory, not blind-sight!
IT'S IMPORTANT TO KNOW WHAT EACH SEED NEEDS!! I'm glad I read the baggie for delphiniums, because you DON'T BURY THEM! you simply sew them on top, and press them down into the soil. If sewing outside, she recommends walking on them actually. I'm a little nervous about them drying out... but I'll be diligent about watering them.
And that's it for this week! You can see my new plantings behind me here (yes I am dressed... it's my workout shirt lol! I wasn't gonna wear good clothes for dirt digging... ;) )
Until next time, Keep those thumbs green!! :)


Well I am trying to grow Turmeric. So far I have some nice dirt. I invested in a $4.00 hot plate from the thrift store, put a cooling rack on top of it and have it on a timer (15 min on 15 min off). Soil temp is about 20 deg warmer than room temp so around 90'ish. I believe that is what I was hoping to achieve. Not sure why they aren't growing but have no idea how long it takes them to sprout. Thanks for your post always interesting to hear what the green thumb of yours is doing. You definitely have some of your grandma D's genes in you. Keep it up!
ReplyDelete