Monday 26 February 2018

So it begins!

I attended a seed swap at the 10 Acre Wood animal rehabilitation farm this past weekend, and it was great fun! A come-and-go event where everyone can bring their seeds, swap, trade, or buy what they need, and visit with fellow gardeners!

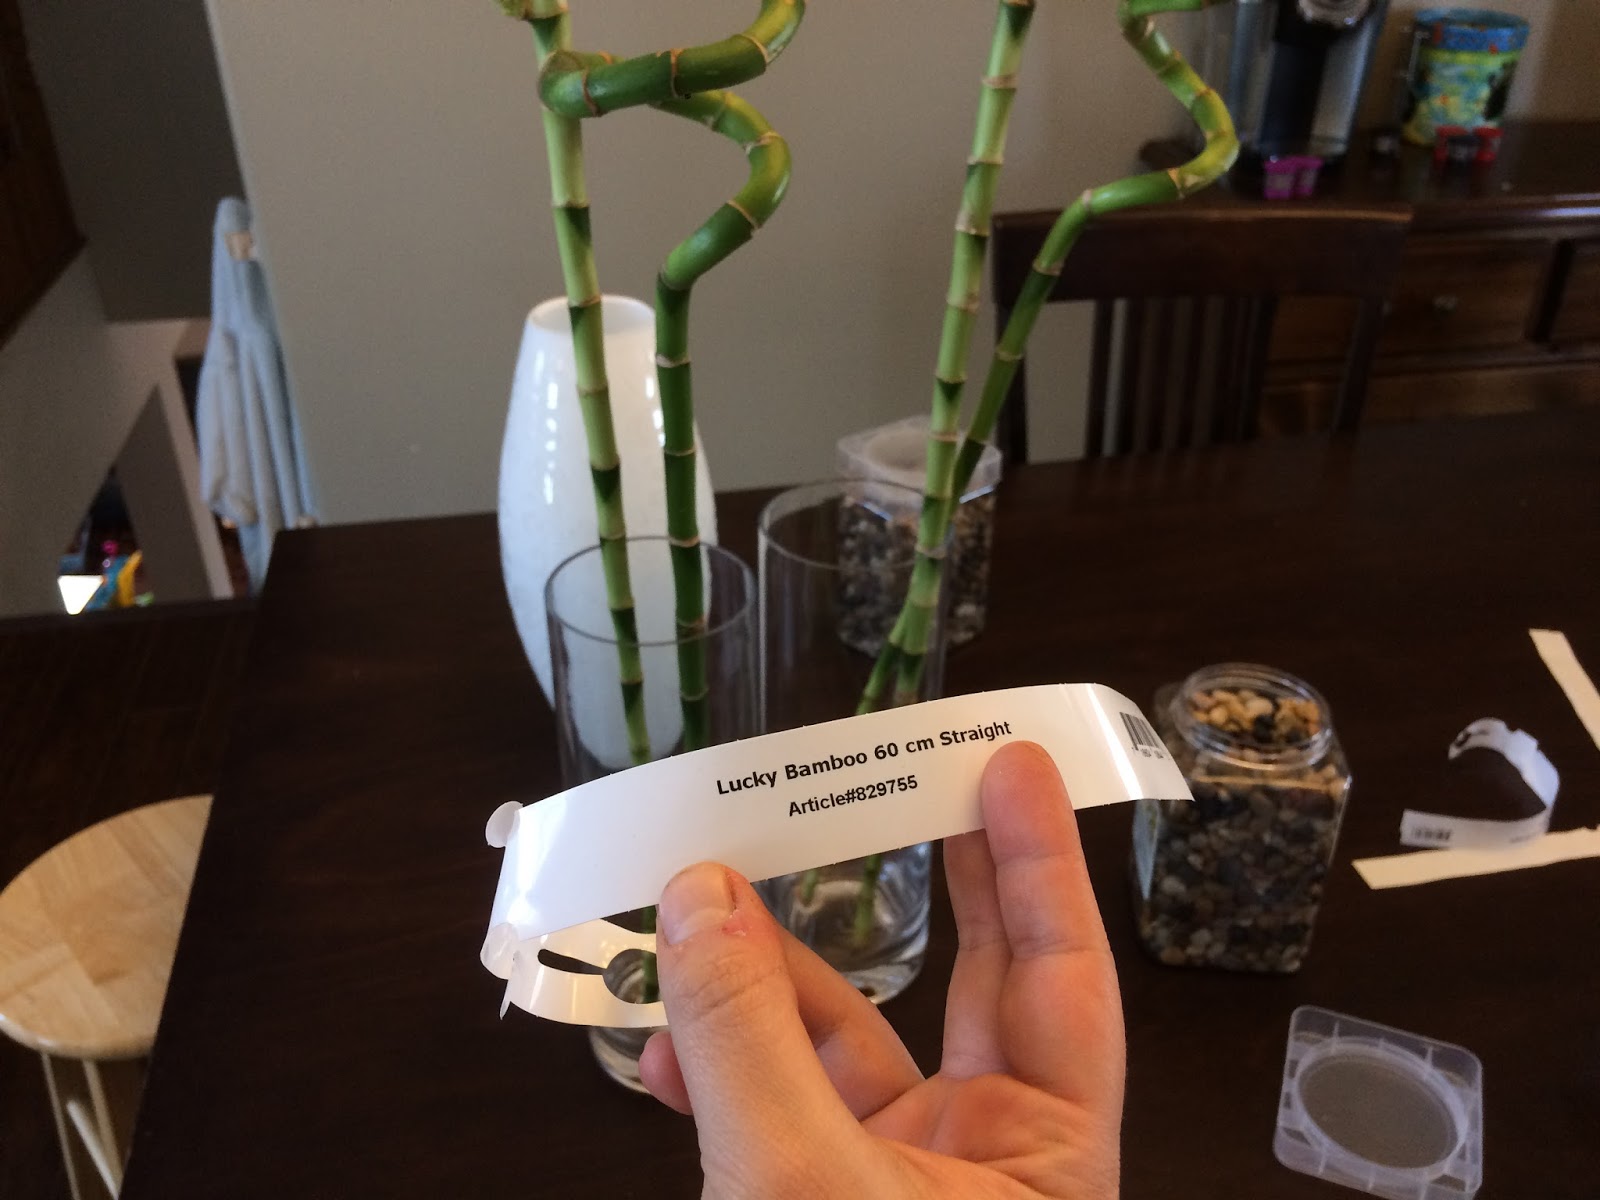
I left with a few unique finds. One, was Tobacco seeds! Kinda fun eh? I actually really was intrigued by this, not because we smoke (because we don't! Just to clarify lol), but for use in acts of reconciliation with our First Nations brothers and sisters. You see, it's actually considered impolite to approach a Native elder about something specific, without first bringing them a gift of traditional medicine of some kind. Be it sweet grass, sage or the traditional tobacco. It's a sign of respect for who they are, and it acknowledges their role and wisdom and the gift of their time and attention they are giving to you.  (I'm sure there is more to it than I understand as well). So this past week there was a "love for Tina" march in honor of Tina Fontaine who's alleged killer was released and not charged. I wanted to bring a blanket to the person camping out at the legislature building in protest to this jury decision. But when the march began, the camping person joined the march. All of a sudden, I knew I'd be interacting with elders, not simply a member of the community. So I respectfully stopped at a gas station to pick up some loose tobacco... now... a small package of loose tobacco ran me $35!!! youch!! Not cool... So I am hoping that by growing my own, I can avoid this in the future. Plus... offer a much better quality gift that isn't full of other chemicals and well... garbage really. Tobacco apparently gets better with age, so even using it sparingly, it'll be good for a long time.

I also managed to find some LOCAL rhubarb seeds. I didn't actually know that Manitoba rhubarb went to seed, as I've never seen this happen myself. The seeds were almost double the size of the Ukranian ones, so i'm pretty curious about them! I just planted some on the 26'th and I'm hoping they will still grow well, and establish okay in our back field.

The rest of the seeds I need for this year, I couldn't find at the swap. Stuff like zucchini, Kohlrabi (a veggie that is like a bulb-shaped broccoli-stem tasting thing. super awesome. I love it cooked!), and cucumbers were hard to come by, since their seeds aren't easily saved here in Manitoba. I got some pepper seeds though that I'll be trying out!


All geared up from my new-found seeds, naturally I threw caution to the wind, and started another round of seeds on the 26'th. Now all my plastic egg cartons are full, and I'll need to delve into my other recycled goods, or wait to transplant time and re-use my current ones ... (or eat way more eggs in the next two weeks!). 

these dont need to be under the light until seedlings emerge, however the lights also provide heat, which seeds DO need to sprout.

Anyways, I started the seeds I know can be done early.

  1. Peppers (one book I read, whose author lives in a WARMER zone than ours, said she started hers in January even, and still they were barely flowering when she would set them out).
  2. Ground cherries (a member of the tomato family, but very very slow growing)
  3. Tobacco (all of my research basically said to treat them like tomato plants... so this was 5 weeks early if that's the case, but I only have a few seeds.  I want to ensure a good crop and hopefully some seed production for seed saving. I'm excited to try this out!)
  4. Sage (in all honesty, I  couldn't find a seed starting date anywhere on the internet. So i'm thinking it's fine to start any time. Apparently they take up to 6 WEEKS to germinate anyways, and it's such a slow growing plant.)
  5. Snap dragons (because they are beautiful, I started them this early last year, and they did wonderfully!)
peppers: 4 seeds to a shell. They will be transplanted soon after sprouting, so space isn't a concern.

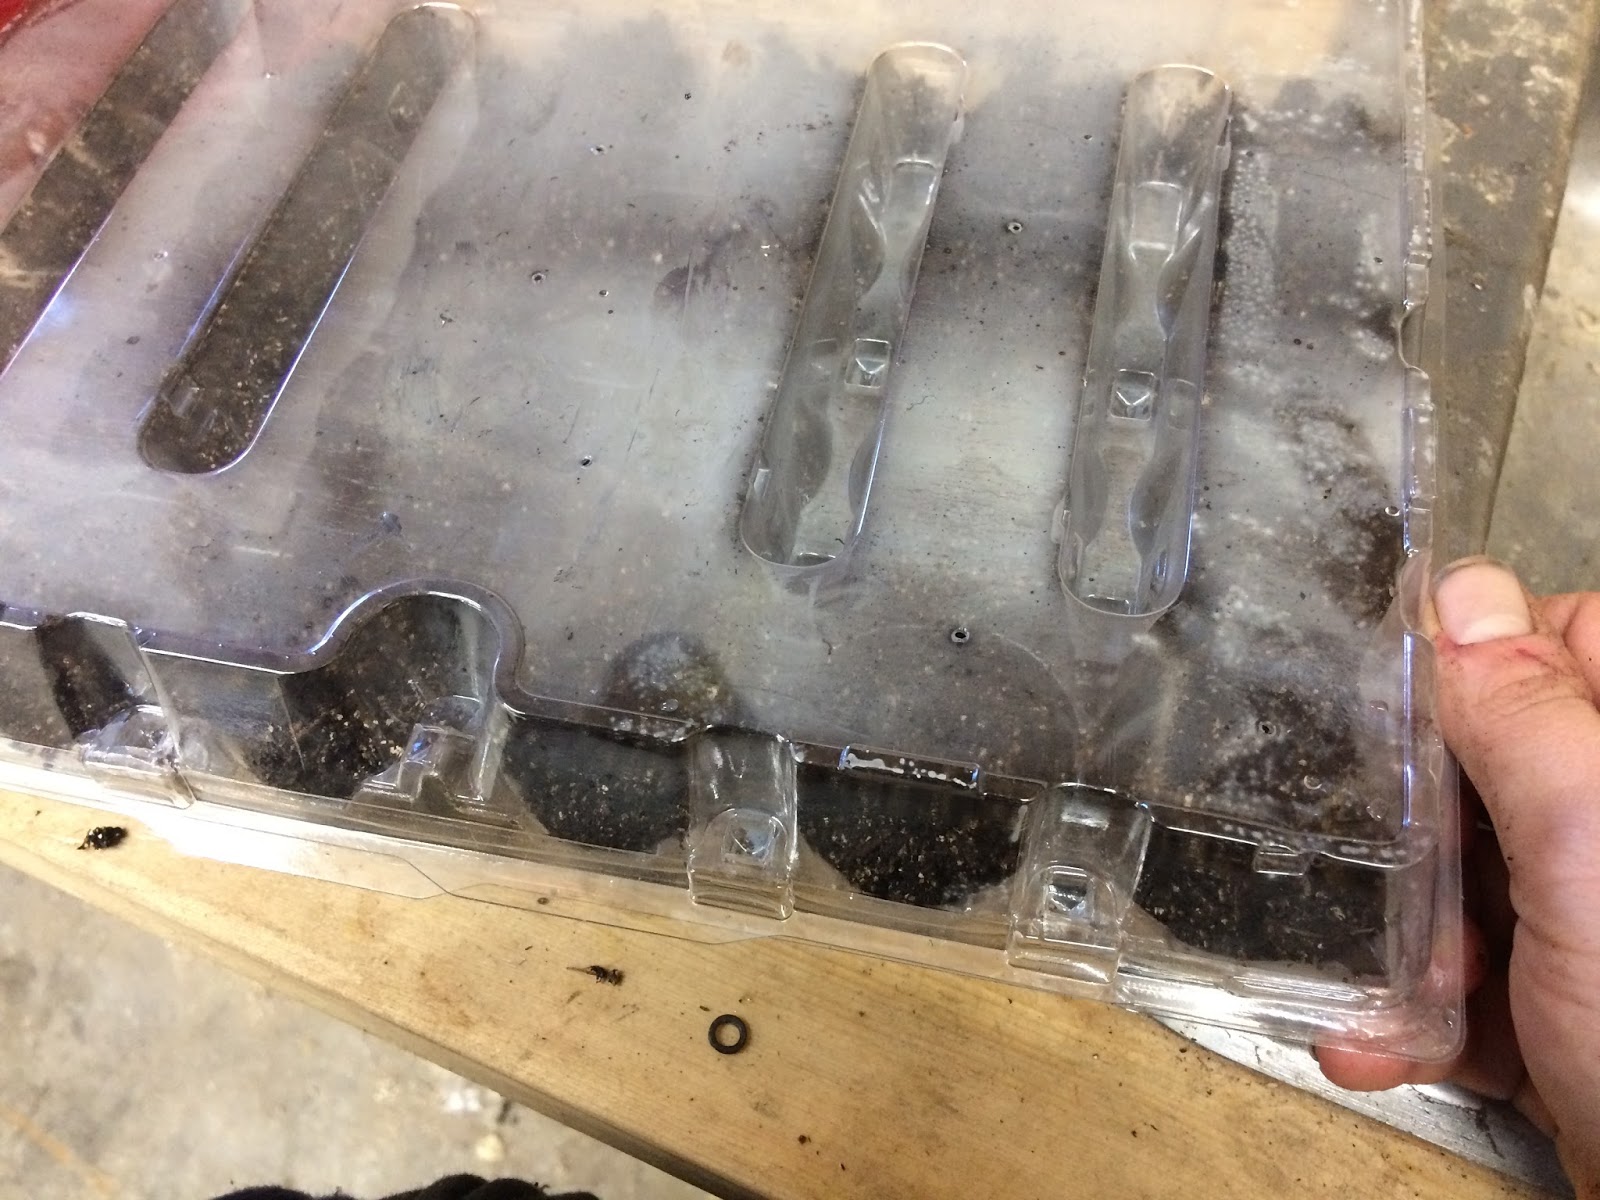
Tobacco is sand-like, so was sprinkled. Sage 4/shell, ground cherry was also sprinkled.

snapdragons were done in an old spinach tray. 1.5 inches of wet dirt, sprinkled sand-sized seeds, and semi-sealed in a bag.

If I was doing peppermint or oregano from seed, i'd also have started those this week. But I have perennials for those already growing in my garden :) they are NOT slow growers once they have established! They actually get very invasive. 


Other than sharing about my own seedling updates, I wanted to discuss seed-starting with y'all! The holding-off is over. Now we're approaching spring!

 My mother in law gave me this FANTASTIC book that I've been captivated with (60 pages in already, which has to be a weekly record for me!). Many of my info tidbits will be coming from this book over the next several weeks. It's definitely been inspiring my green thumb this week, and it's worded in such an easy-to-understand way!


 So, on to what YOU should be doing now! :) Yup! You can start something inspiring for those thumbs!

This is about the right time for you to start planning out your garden! Whether you want to plot it out, or simply think about what varieties of plants you want to grow, either way!  There are two tasks I suggest accomplishing this week at the very latest:

1) Start ordering seeds (I like "heritage Harvest" for variety, low shipping cost and quality, but I also love dollar tree seeds and have had very good success with them over the last 5 years, or however long they've been in Winnipeg) here's a list and another list of a few Canadian seed suppliers.
Heritage harvest: white and purple Kohlrabi, two varieties of cucumbers, and two varieties of tomatoes.
Heritage Harvest seeds: Northern bell peppers, little mini sweet peppers, savory and a mini white cucumber (supposed to be great for kids).

2) Make a chart of seedlings to start!

Seedlings are not for the faint of thumb (see what I did there? little green thumb plug!). There are plenty of AMAZING nurseries in the area (one on the floodway that i'll introduce you to when the time is right, that is wicked cheap!!), and often you can then bank on their plants having been protected from the spring frosts that occur. Sometimes,as the May long weekend gets closer, we get lazy and our seedlings can catch a frost if we're not paying attention! Nurseries are pretty diligent on this stuff!  So if starting seedlings seems like a hassle, simply sit down, and think about it, and make that decision... Likely, you'll be glad to have pre-thought about it, and grateful for avoiding the hassle of starting seeds.

On the other hand, for some of us, it's less about the time/money investment of bedding plants, and more about knowing that you grew that specific tomato plant, start-to-finish! It's a very rewarding feeling. So if that's you, give it a shot!

There's lots of good tools on the internet like this one which I am using, where you plunk in your frost-free date (ours in Manitoba is the Monday of the may long weekend in case you didn't know that), and it spits out an exhaustive table of plants, veggies, herbs, flowers, when to seed them indoors, when to plant them outdoors etc... Very helpful!

 So I plunked in our date, and made a list of my preferred veggies/flowers and when to seed them indoors. I then made a SEPARATE list of when to plant things outdoors. It's just easier to have this in separate places for quick referencing.
listed dates by week, and the seeds to start that week listed in each row.


 And now just this week, I've also started a third page, where I am keeping track of when I ACTUALLY start my seeds, and whether it's earlier or later than recommended seeding dates in the table i'm using. that way i'll be able to look back next year and see where I did well, and where I went wrong.

listed by specific dates pre-post frost date, when to put each plant or seed in the ground.


Well, this should give you plenty to work on for the week! :) Until next week, keep those thumbs green!


Thursday 22 February 2018

LET THERE BE LIGHT!!

I have exciting news....

I... *smirk!* I started my first seeds today! :) February 22'ed! Yup! Now, don't get me wrong. This is insanely early. Last year I started in February, and all my plants died because that was way too soon to be starting them. I vowed I wouldn't do it this year that way... But let me explain.
This year I was more organized! In fact, I found some tools and arranged my seed starting dates according to the calendar and all the internet experts out there (more on that another day. It's still not relevant for most garden plants, even flowers shouldn't be started yet!). The reality is that I should have started my Rhubarb seeds between January 29-Feb 12... So  i'm technically 10 days late already for these ones!


 My earliest stuff to seed indoors is march... except for one crucial plant... RHUBARB!! Yup! I got me some Rhubarb seeds from Ukraine via Amazon's seller "Nikovita seeds". (I'm not sure whether to recommend them or not yet, since this is my first shot at planting anything. So I'll keep you posted. But great prices and service as far as shopping goes).

Anyways! So starting things this early means a couple of things:
1) here we go again lol and
2)  I need somewhere with enough light for starting seeds.

Now... if you're like me, (and I feel like most people are 😉) you have a husband who despises having plants on his window sills... I'm not sure whether its the lack-of-living room space, the water everywhere, or the children plus dirt combo... basically I think he's crazy for not loving it, but hey! I picked him!


So, with my tail between my legs, and my ears back, I slunk up to him and said "oh hunny, you know how I said I wouldn't start any seedlings this year?? I'm sorry... but I don't think that's humanly possible for me... can we look into getting some plant lights?" And even with this, I had to hold my ground! Trust me, a plant light is our compromise!! :)

So off I went to search the internet... Boy are they expensive! I started losing heart, but then I asked around. Our neigbor bought her new one for $800 and the same one used for $200. So i decided to check out kijiji! Sure enough, I managed to score a pretty sweet relic for about $70!!


 Yay! But It still needed light bulbs... So off I went to Home depot, after some of Curtis research. The nice greeting man was handed a slip of paper by me (with the names of what I needed) and about 5 minutes later I was all good to go!

Home I went, and with a little assistance from Curtis and his framing-carpentry-forearms, I managed to get the plant stand re-assembled... with one minor issue... The trays themselves... well, just look.


 I mean, it was a seriously good deal! I really cannot complain. I was thinking maybe i'd just put them into a kitchen garbage bag or something so that the rust doesn't touch my plants, but then the nice lady at the Home Depot paint counter showed me that there's some good products out there for rusty metal!

 This stuff comes in many colors. I chose a gloss brown finish simply because dirt is brown and gloss seems more clean-able in my opinion (This is not factual lol just my own head!).
 So back to Curtis shop it was for me. rag and wash basin in tow.  First I wiped the trays down with a wet cloth, to remove any flakey rust, and dust.

 Next I used a super cheap scouring pad (much harsher metal, than a steel wool) to scour off the main rusty debris.


This already made a pretty big difference, as you can see above. After drying them off, all that was left was to spray them!  


 If you end up with a similar project, don't forget to check for tape... like I forgot to do... ;)
 And that was it! Tada! 6 beautiful brown clean plant trays! Ready to use. I'm so glad I decided to fix those up. This increases the life of my plant-stand by quite a lot.


Now for the rhubarb seeds! I did a bit of research on breaking dormancy of rhubarb seeds, and it didn't appear that they have any specific techniques that are unusual. I did read that it is suggested to soak them for 1-2 hours before planting them. Just in clean water. So these got about 45 minutes of soaking, while I prepped and photographed my process. :)


Aren't they pretty? they remind me of an Elm tree seed (the Frisbee seeds)

For these seeds, i'm gonna bring forth another genius idea of mine: using egg cartons as seed plugs.

 These are the clear plastic kind from costco's organic eggs. Lots of eggs come in these  clear plastic clamshells. Start saving them because not only is each compartment the perfect size for starting one seed, the lid doubles as a greenhouse to help encourage germination!
 For my seedling starter mix, I'm trying out something new. Potting soil really screwed me over last year. The trouble with pre-made potting soil, is that it's quite dense. What happened to many of my seedlings, is that as they drank the water in the soil, the soil condensed so much so that it crushed the tender roots. If not that, many of them rotted because I over-watered to prevent this soil-crushing. This year, I'm going to try a 3-way mix that is close to "mels mix" but not quite. I'm doing 1/2 peat moss, 1/4 vermiculite, and 1/4 compost.


Mix it up with your hands to make a nice blend. You'll notice I add my water to the soil right aways instead of waiting until after planting. And there's good reason. Peat moss can be a real pain to absorb with water. but if you can knead it a bit, it's quite easily done. This will ensure all of the soil is wet for the new seed, and also  that the seed isnt jostled out of place by the watering.  Add some HOT tap water. As hot as your hands can tolerate. Generally it'll cool off with the mixing process, but warmer water will be absorbed into the peat more readily, and it'll create a nice warm starting ground for your seeds.

 You will know your soil has enough moisture because when you squeeze it, a bit should be dripping out. Not gushing a waterfall, but generously dripping when squeezed like a sponge.


Once my soil is all mixed up, I add another shot of hot water, and let that sit and soak while I prepare my egg carton seed-plugs. ( I call them plugs instead of pots, because as soon as they have a tolerable amount of growth, the seedlings will be transplanted into an appropriately sized pot)


For the next part, you'll need a couple tools. A nail and a hammer. Flip over the egg carton and pop one hole into the bottom of each cell. this is to allow any drainage that needs to happen. It wont be much since it's such a small amount of soil to begin with.But just incase, allow for the drainage. 

 Next I polked about 4 rows of 4 holes in the lid itself, for air. There is definitely some air room between the top and bottom layers, but still, I wanted to be certain.
  Now just fluff up the soil and begin filling the cells. Not too full, but about 3/4 of the way.


 I did one seed per cell, just so I can also test the germination rate of these Nikoveta seeds while i'm at it. but usually you'd do 2 seeds per spot as an insurance measure.

One question many people have, is how deep to plant a seed. The rule of thumb I was taught by my Mother in law, is to always plant a seed at 5X it's width. so bigger seeds like watermelon and squash, should be buried a little deeper than say, a sand-like carrot seed. In this case, these are somewhat lumpy but flat seeds. I decided to just cover them with a pinch of dirt, since i'll be transplanting them anyways. Had I been directly sewing them, I would have followed package directions to sew 3-4 cm deep.


I had two egg carton's worth of seeds. So for one tray I exposed the seeds to light for 20 seconds before I covered them with dirt. One source mentioned that exposure to light often breaks the dormency of seeds. So I figured it would be worth the science experiment just for kicks! 


Here comes the fun part... Just cover it, and away we go!


All I did was close these, and stick them under my plant lights. I'll keep you all posted on how things turn out! I'm super nervous and very excited! :)


 Until next time, Keep those thumbs green! :)


Saturday 17 February 2018

How to Bamboo!

 Hello folks! Today lets talk about how to Bamboo! I saw a couple days ago that Sobeys still has this glorious stuff on sale, so I thought I'd sneak in this how-to quickly while the product is available for cheap! :)

 
What you'll need to make yourself a pretty little bamboo plant is only 4 things. Lucky Bamboo shoots, rocks, a vase, and water. Pretty simple stuff! 


Lets start with the Bamboo. Did you know that Lucky Bamboo isn't actually bamboo at all? its a Lilly! And that explains why it grows so well in JUST water. I always wondered how it seems to thrive without soil.  Choose stems that are a nice deep green. Not a yellowy green. You can actually see both colors in my selection of bamboo because I was ignorant of this important detail when I bought mine. The straight shoots are much paler than the curly ones. I'm hoping some TLC will nurse them back to a deep green color! :)

Next you will want to check the roots of the bamboo. Look for shoots that already have some root growth happening. Preferably white-tan colored. These are already looking a bit old, But since the rest of the plant looks okay, I'm not too worried. You also want to check the leaf growth. make sure they aren't a) too pale or b) looking withered on the edges (which is sun burn). Lucky bamboo is a shade plant, that grows at the forest floor. So although it needs some light, it should be INDIRECT! Think about a brightly lit room's shadow spot... that's a good place for bamboo.  Still gets  some light, but not directly.
  
Okay! The rest of my supplies were from Dollarama. The Vases I wanted to use were $4. but if you want a shorter/wider vase with more stems in it, it'll be  cheaper for you. The rocks were $3 a box, and I only used juuuuust over 1 box for the two vases. 

 The other thing I did use (after a little research) is a drop of plant food. Only 1 drop per liter of water, even though the bottle says to use 7 drops per liter. The reason for this is that bamboo doesn't need much nutrients and you don't want to burn it by giving it too much. But a little bit, will keep it thriving and nourished.

tip: If you live in the city, it's a good idea to use either un-chlorinated water, or to let your water sit out for 24-48 hours to neutralize before using it in your bamboo (or any plants for that matter). Luckily, we are on a well water system so I don't have to worry about that! :)

Other than the ingredients, the rest is pretty simple! Start by putting in your bamboo sticks, and gently add your rocks. You do the bamboo first, so you don't tear the existing roots when you stab it into the rocks.  Once your rocks are in, just add water! :) you're done!  Change the water once a week, holding down your rocks with your hands as you dump the water. This will help to prevent algae growth.

Your bamboo will grow roots along the stem wherever it is submerged in the water. I chose to go with a 3 layer look. You can see the rocks, the water level, and then just dry stem within the vase. This will look pretty cool when it starts growing roots in that medium layer.
Your bamboo will continue to grow leaves. Apparently the way to make it grow in a spiral, is simply to keep twisting the vase gradually away from the sun. As the leaves and new stems grow, they will always grow towards the sun, and you can navigate the growth this way! :) Also, because Lucky bamboo is actually a Lilly, it's incredibly easy to propagate (that means make new plants, from cuttings of your old plant). You literally just need to cut it, and stick it in the water! So if your bamboo is getting too leafy for your liking, break off a branch of leaves, and stick them into the water! :)

Good luck!  (I dont really need to say that, since it's already lucky to start with! hehe!)