I... *smirk!* I started my first seeds today! :) February 22'ed! Yup! Now, don't get me wrong. This is insanely early. Last year I started in February, and all my plants died because that was way too soon to be starting them. I vowed I wouldn't do it this year that way... But let me explain.
This year I was more organized! In fact, I found some tools and arranged my seed starting dates according to the calendar and all the internet experts out there (more on that another day. It's still not relevant for most garden plants, even flowers shouldn't be started yet!). The reality is that I should have started my Rhubarb seeds between January 29-Feb 12... So i'm technically 10 days late already for these ones!

Anyways! So starting things this early means a couple of things:
1) here we go again lol and
2) I need somewhere with enough light for starting seeds.
Now... if you're like me, (and I feel like most people are 😉) you have a husband who despises having plants on his window sills... I'm not sure whether its the lack-of-living room space, the water everywhere, or the children plus dirt combo... basically I think he's crazy for not loving it, but hey! I picked him!

So, with my tail between my legs, and my ears back, I slunk up to him and said "oh hunny, you know how I said I wouldn't start any seedlings this year?? I'm sorry... but I don't think that's humanly possible for me... can we look into getting some plant lights?" And even with this, I had to hold my ground! Trust me, a plant light is our compromise!! :)
So off I went to search the internet... Boy are they expensive! I started losing heart, but then I asked around. Our neigbor bought her new one for $800 and the same one used for $200. So i decided to check out kijiji! Sure enough, I managed to score a pretty sweet relic for about $70!!


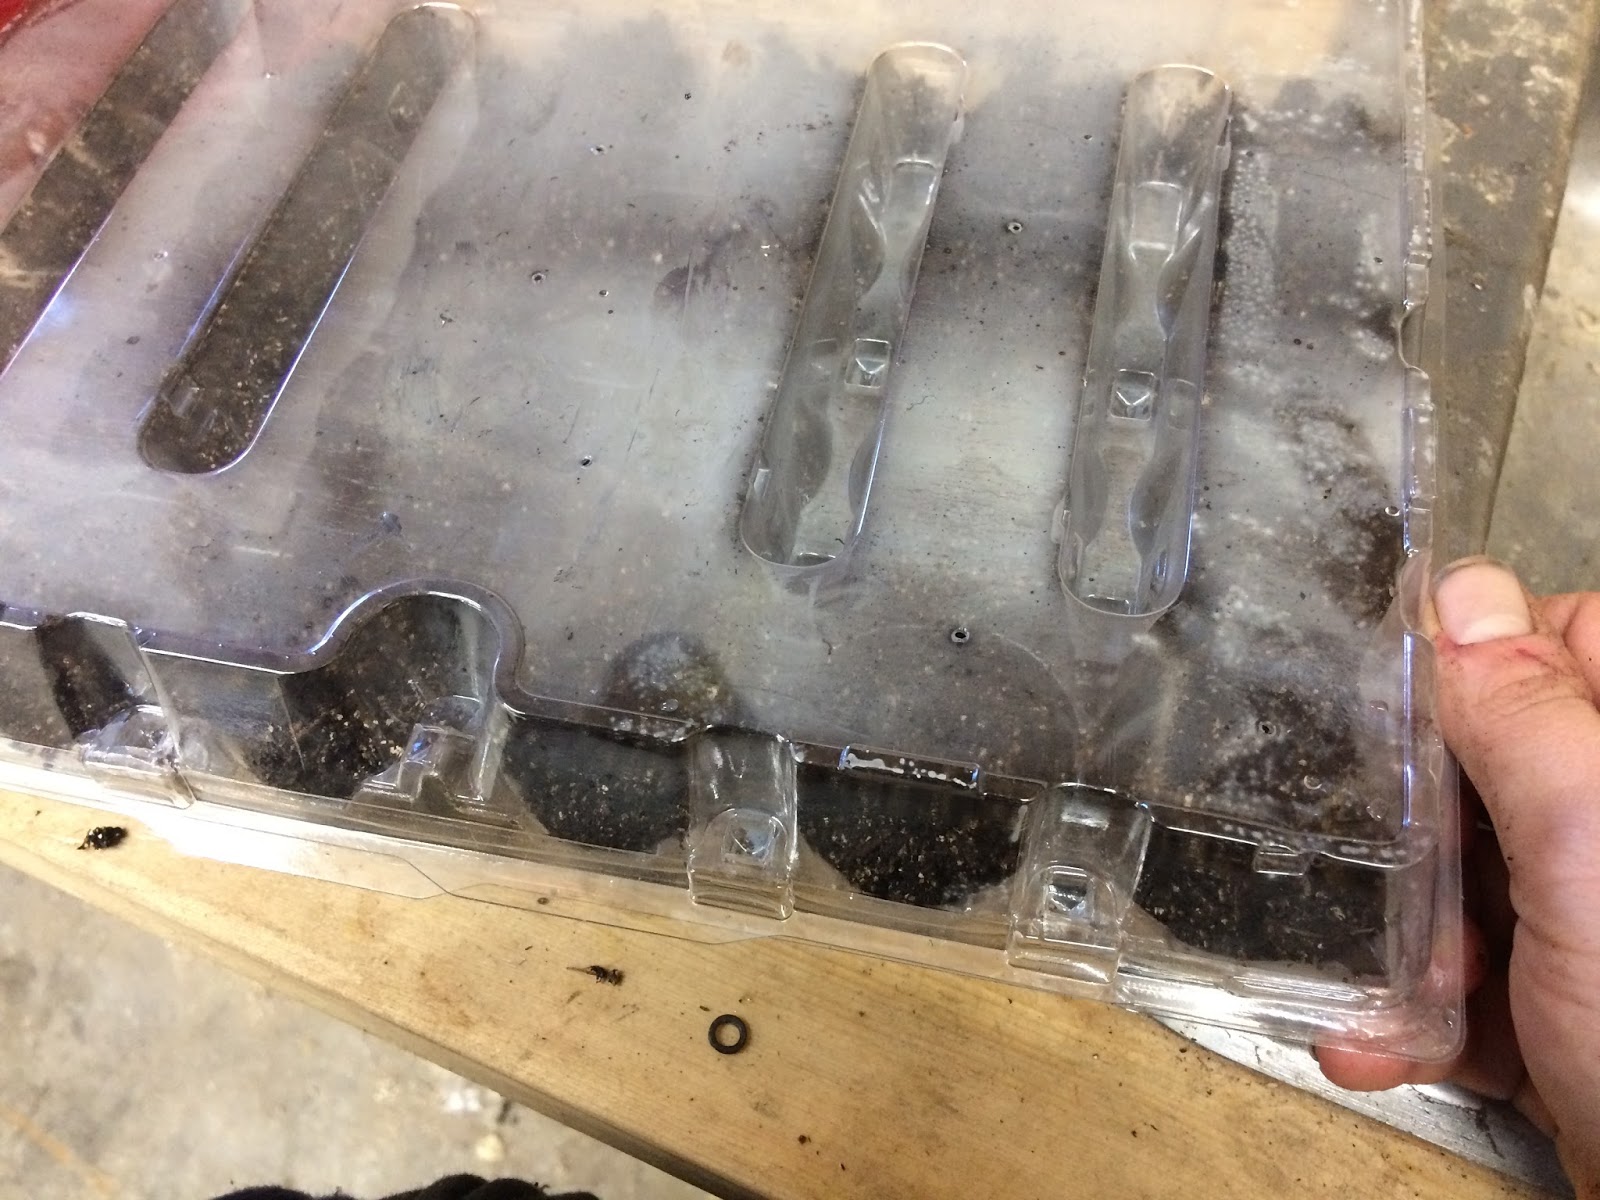
Home I went, and with a little assistance from Curtis and his framing-carpentry-forearms, I managed to get the plant stand re-assembled... with one minor issue... The trays themselves... well, just look.

I mean, it was a seriously good deal! I really cannot complain. I was thinking maybe i'd just put them into a kitchen garbage bag or something so that the rust doesn't touch my plants, but then the nice lady at the Home Depot paint counter showed me that there's some good products out there for rusty metal!

This stuff comes in many colors. I chose a gloss brown finish simply because dirt is brown and gloss seems more clean-able in my opinion (This is not factual lol just my own head!).


This already made a pretty big difference, as you can see above. After drying them off, all that was left was to spray them!


Now for the rhubarb seeds! I did a bit of research on breaking dormancy of rhubarb seeds, and it didn't appear that they have any specific techniques that are unusual. I did read that it is suggested to soak them for 1-2 hours before planting them. Just in clean water. So these got about 45 minutes of soaking, while I prepped and photographed my process. :)

For these seeds, i'm gonna bring forth another genius idea of mine: using egg cartons as seed plugs.


Mix it up with your hands to make a nice blend. You'll notice I add my water to the soil right aways instead of waiting until after planting. And there's good reason. Peat moss can be a real pain to absorb with water. but if you can knead it a bit, it's quite easily done. This will ensure all of the soil is wet for the new seed, and also that the seed isnt jostled out of place by the watering. Add some HOT tap water. As hot as your hands can tolerate. Generally it'll cool off with the mixing process, but warmer water will be absorbed into the peat more readily, and it'll create a nice warm starting ground for your seeds.

You will know your soil has enough moisture because when you squeeze it, a bit should be dripping out. Not gushing a waterfall, but generously dripping when squeezed like a sponge.

Once my soil is all mixed up, I add another shot of hot water, and let that sit and soak while I prepare my egg carton seed-plugs. ( I call them plugs instead of pots, because as soon as they have a tolerable amount of growth, the seedlings will be transplanted into an appropriately sized pot)

For the next part, you'll need a couple tools. A nail and a hammer. Flip over the egg carton and pop one hole into the bottom of each cell. this is to allow any drainage that needs to happen. It wont be much since it's such a small amount of soil to begin with.But just incase, allow for the drainage.

Next I polked about 4 rows of 4 holes in the lid itself, for air. There is definitely some air room between the top and bottom layers, but still, I wanted to be certain.


I did one seed per cell, just so I can also test the germination rate of these Nikoveta seeds while i'm at it. but usually you'd do 2 seeds per spot as an insurance measure.

One question many people have, is how deep to plant a seed. The rule of thumb I was taught by my Mother in law, is to always plant a seed at 5X it's width. so bigger seeds like watermelon and squash, should be buried a little deeper than say, a sand-like carrot seed. In this case, these are somewhat lumpy but flat seeds. I decided to just cover them with a pinch of dirt, since i'll be transplanting them anyways. Had I been directly sewing them, I would have followed package directions to sew 3-4 cm deep.

I had two egg carton's worth of seeds. So for one tray I exposed the seeds to light for 20 seconds before I covered them with dirt. One source mentioned that exposure to light often breaks the dormency of seeds. So I figured it would be worth the science experiment just for kicks!

All I did was close these, and stick them under my plant lights. I'll keep you all posted on how things turn out! I'm super nervous and very excited! :)
Until next time, Keep those thumbs green! :)
No comments:
Post a Comment
thanks for commenting! :)