I attended a seed swap at the
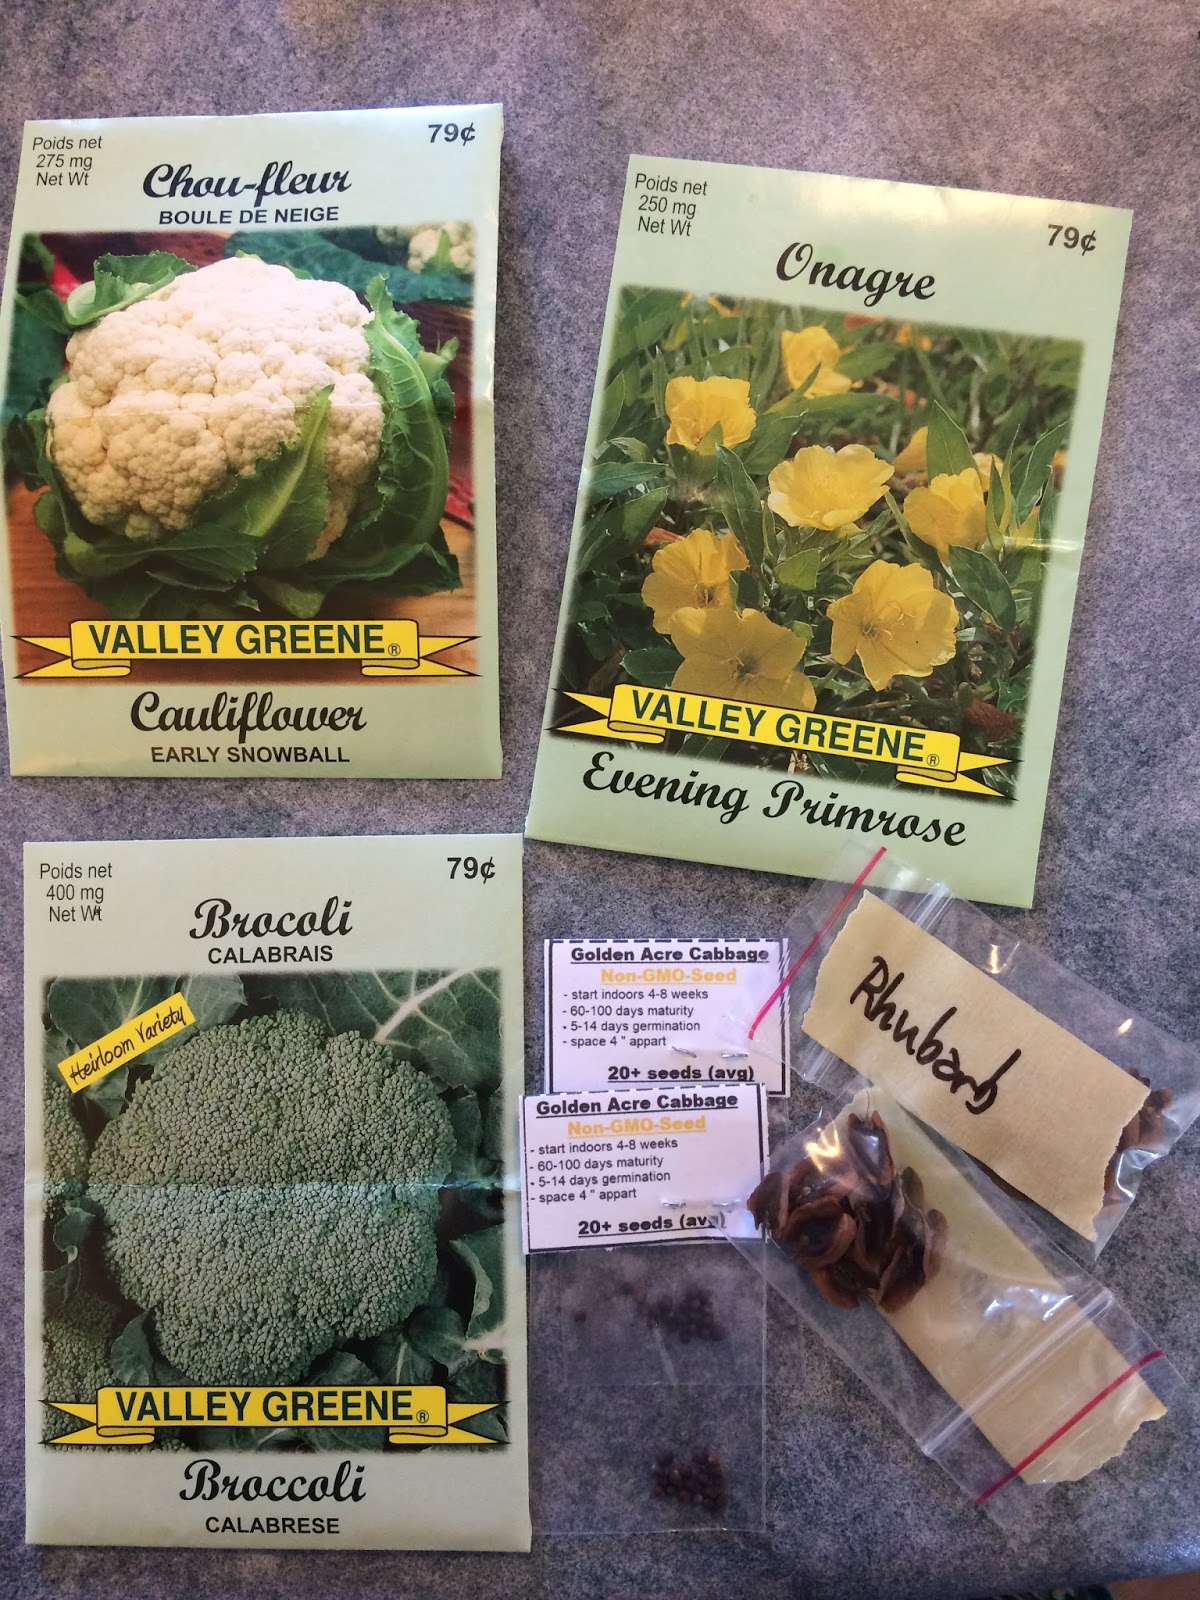
10 Acre Wood animal rehabilitation farm this past weekend, and it was great fun! A come-and-go event where everyone can bring their seeds, swap, trade, or buy what they need, and visit with fellow gardeners!
I left with a few unique finds. One, was Tobacco seeds! Kinda fun eh? I actually really was intrigued by this, not because we smoke
(because we don't! Just to clarify lol), but for use in acts of reconciliation with our First Nations brothers and sisters. You see, it's actually considered impolite to approach a Native elder about something specific, without first bringing them a gift of traditional medicine of some kind. Be it sweet grass, sage or the traditional tobacco. It's a sign of respect for who they are, and it acknowledges their role and wisdom and the gift of their time and attention they are giving to you.
(I'm sure there is more to it than I understand as well). So this past week there was a "love for Tina" march in honor of Tina Fontaine who's alleged killer was released and not charged. I wanted to bring a blanket to the person camping out at the legislature building in protest to this jury decision. But when the march began, the camping person joined the march. All of a sudden, I knew I'd be interacting with elders, not simply a member of the community. So I respectfully stopped at a gas station to pick up some loose tobacco... now... a small package of loose tobacco ran me $35!!! youch!! Not cool... So I am hoping that by growing my own, I can avoid this in the future. Plus... offer a much better quality gift that isn't full of other chemicals and well... garbage really. Tobacco apparently gets better with age, so even using it sparingly, it'll be good for a long time.
I also managed to find some LOCAL rhubarb seeds. I didn't actually know that Manitoba rhubarb went to seed, as I've never seen this happen myself. The seeds were almost double the size of the Ukranian ones, so i'm pretty curious about them! I just planted some on the 26'th and I'm hoping they will still grow well, and establish okay in our back field.
The rest of the seeds I need for this year, I couldn't find at the swap. Stuff like zucchini, Kohlrabi (
a veggie that is like a bulb-shaped broccoli-stem tasting thing. super awesome. I love it cooked!), and cucumbers were hard to come by, since their seeds aren't easily saved here in Manitoba. I got some pepper seeds though that I'll be trying out!
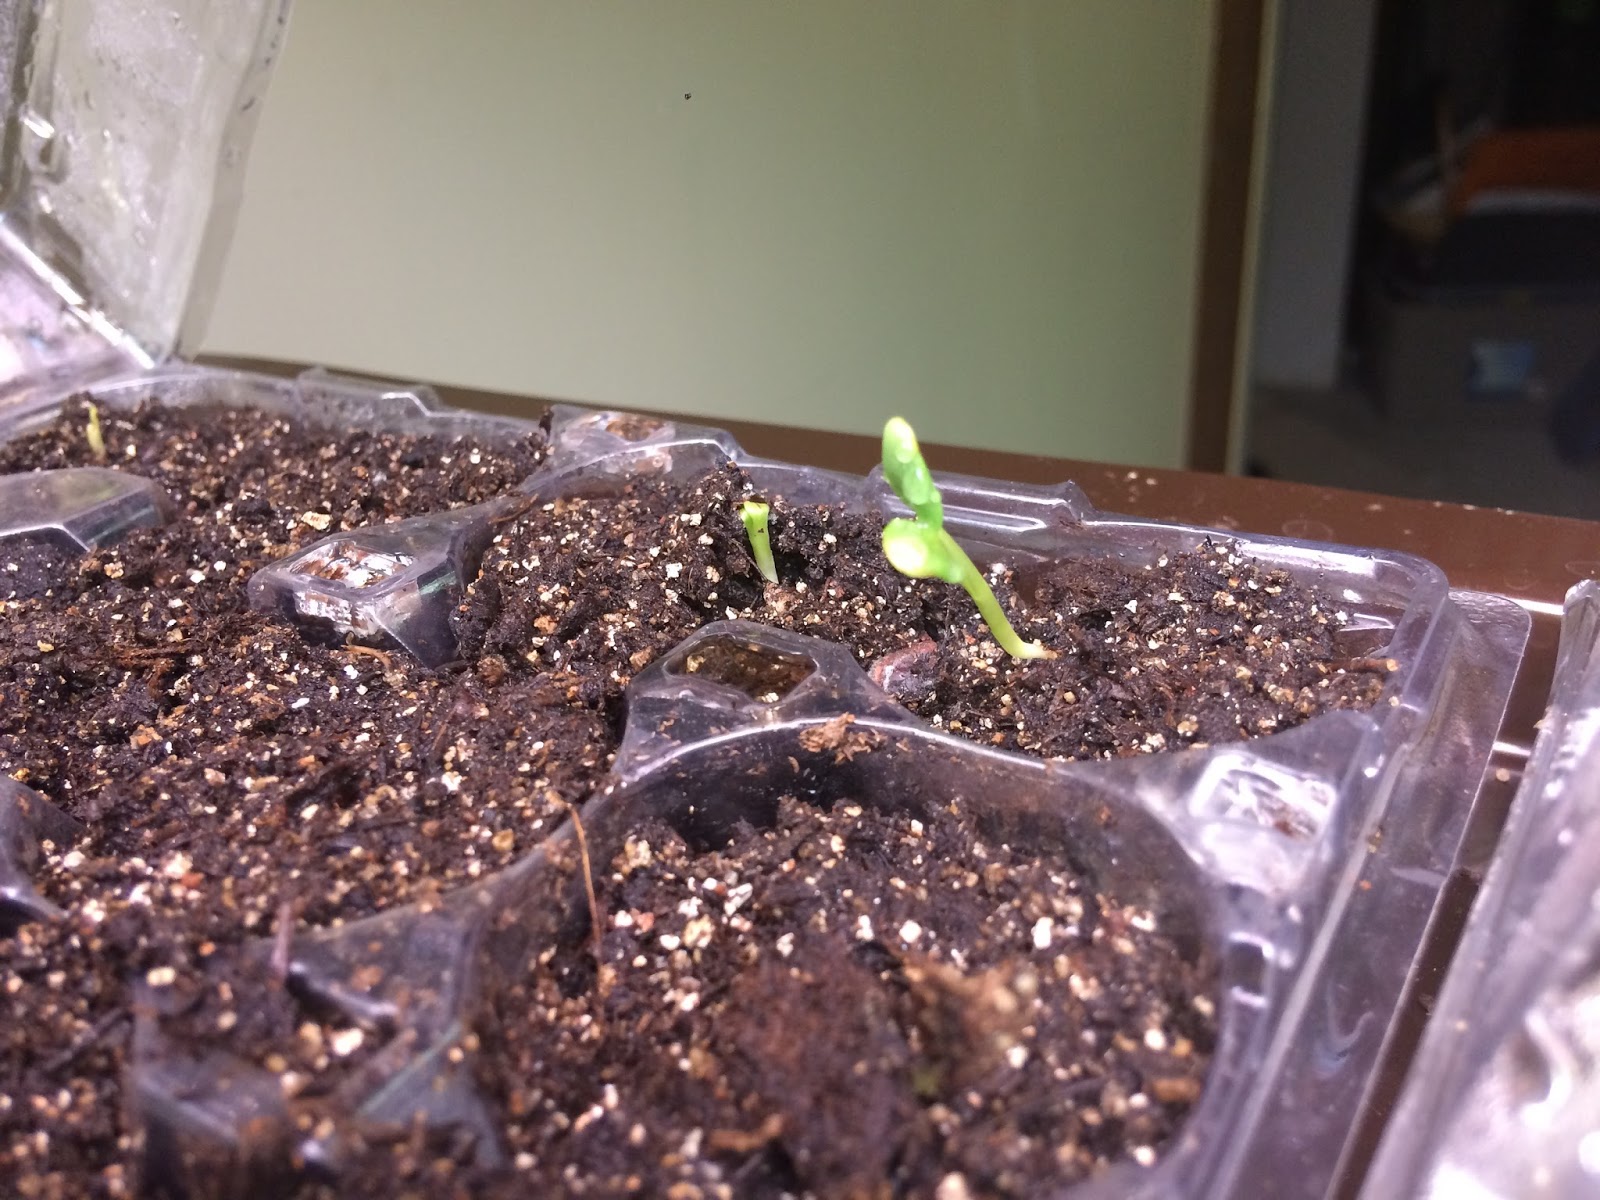
All geared up from my new-found seeds, naturally I threw caution to the wind, and started another round of seeds on the 26'th. Now all my plastic egg cartons are full, and I'll need to delve into my other recycled goods, or wait to transplant time and re-use my current ones ...
(or eat way more eggs in the next two weeks!).
 |
| these dont need to be under the light until seedlings emerge, however the lights also provide heat, which seeds DO need to sprout. |
Anyways, I started the seeds I know can be done early.
- Peppers (one book I read, whose author lives in a WARMER zone than ours, said she started hers in January even, and still they were barely flowering when she would set them out).
- Ground cherries (a member of the tomato family, but very very slow growing)
- Tobacco (all of my research basically said to treat them like tomato plants... so this was 5 weeks early if that's the case, but I only have a few seeds. I want to ensure a good crop and hopefully some seed production for seed saving. I'm excited to try this out!)
- Sage (in all honesty, I couldn't find a seed starting date anywhere on the internet. So i'm thinking it's fine to start any time. Apparently they take up to 6 WEEKS to germinate anyways, and it's such a slow growing plant.)
- Snap dragons (because they are beautiful, I started them this early last year, and they did wonderfully!)
 |
| peppers: 4 seeds to a shell. They will be transplanted soon after sprouting, so space isn't a concern. |
 |
| Tobacco is sand-like, so was sprinkled. Sage 4/shell, ground cherry was also sprinkled. |
 |
| snapdragons were done in an old spinach tray. 1.5 inches of wet dirt, sprinkled sand-sized seeds, and semi-sealed in a bag. |
If I was doing peppermint or oregano from seed, i'd also have started those this week. But I have perennials for those already growing in my garden :) they are NOT slow growers once they have established! They actually get very invasive.
Other than sharing about my own seedling updates, I wanted to discuss seed-starting with y'all! The holding-off is over. Now we're approaching spring!
My mother in law gave me this FANTASTIC book that I've been captivated with
(60 pages in already, which has to be a weekly record for me!). Many of my info tidbits will be coming from this book over the next several weeks. It's definitely been inspiring my green thumb this week, and it's worded in such an easy-to-understand way!
So, on to what YOU should be doing now! :) Yup! You can start something inspiring for those thumbs!
This is about the right time for you to start planning out your garden! Whether you want to plot it out, or simply think about what varieties of plants you want to grow, either way! There are two tasks I suggest accomplishing this week at the very latest:
1) Start ordering seeds (I like
"heritage Harvest" for variety, low shipping cost and quality, but I also love dollar tree seeds and have had very good success with them over the last 5 years, or however long they've been in Winnipeg)
here's a list and
another list of a few Canadian seed suppliers.
 |
| Heritage harvest: white and purple Kohlrabi, two varieties of cucumbers, and two varieties of tomatoes. |
 |
| Heritage Harvest seeds: Northern bell peppers, little mini sweet peppers, savory and a mini white cucumber (supposed to be great for kids). |
2) Make a chart of seedlings to start!
Seedlings are not for the faint of thumb
(see what I did there? little green thumb plug!). There are plenty of AMAZING nurseries in the area
(one on the floodway that i'll introduce you to when the time is right, that is wicked cheap!!), and often you can then bank on their plants having been protected from the spring frosts that occur. Sometimes,as the May long weekend gets closer, we get lazy and our seedlings can catch a frost if we're not paying attention! Nurseries are pretty diligent on this stuff! So if starting seedlings seems like a hassle, simply sit down, and think about it, and make that decision... Likely, you'll be glad to have pre-thought about it, and grateful for avoiding the hassle of starting seeds.
On the other hand, for some of us, it's less about the time/money investment of bedding plants, and more about knowing that you grew that specific tomato plant, start-to-finish! It's a very rewarding feeling. So if that's you, give it a shot!
There's lots of good tools on the internet
like this one which I am using, where you plunk in your frost-free date
(ours in Manitoba is the Monday of the may long weekend in case you didn't know that), and it spits out an exhaustive table of plants, veggies, herbs, flowers, when to seed them indoors, when to plant them outdoors etc... Very helpful!
So I plunked in our date, and made a list of my preferred veggies/flowers and when to seed them indoors. I then made a SEPARATE list of when to plant things outdoors. It's just easier to have this in separate places for quick referencing.
 |
| listed dates by week, and the seeds to start that week listed in each row. |
And now just this week, I've also started a third page, where I am keeping track of when I ACTUALLY start my seeds, and whether it's earlier or later than recommended seeding dates in the table i'm using. that way i'll be able to look back next year and see where I did well, and where I went wrong.
 |
| listed by specific dates pre-post frost date, when to put each plant or seed in the ground. |
Well, this should give you plenty to work on for the week! :) Until next week, keep those thumbs green!